
7 Tips on Cleaning AirPods for New Users
When Apple released its newest headphone technology, the wireless, BlueTooth operated AirPods, Apple users everywhere went gaga. In fact, nearly 60 million pairs of AirPods were sold in 2019, alone.
The only problem? Many new AirPod users are in the dark about basic AirPod care, which can lower the lifespan of these high-price items.
Cleaning AirPods isn’t difficult, but it is important. If you want to keep your AirPods looking and working like new, you’re going to want to know exactly how to tackle every nook and cranny.
We’ve put together 7 tips for keeping your AirPods clean. Read on to learn everything you need to know.
Why Take Care of Your AirPods?
Unlike the old-school Apple earbuds, AirPods don’t come free with every iPhone purchase. They’re not exactly cheap, either.
If you’re going to make the investment in AirPods, you should do your research. How long do AirPods last? How can you make sure that you’re not shortening their lifespan?
Cleaning AirPods is an important part of AirPod care. You’d be surprised at how dirty those little devices can get with time and keeping them clean is a great way to make sure that the speakers are working the way they’re supposed to.
Cleaning AirPods: Simple Steps and Tips
To clean your AirPods, you don’t necessarily need to go out and purchase an AirPod cleaning kit. To save some dough, grab a few items from around the house or at your local drugstore. Then, follow our simple steps and get cleaning!
1. Start with a Microfiber Cloth
Using microfiber cloths is one of the best ways that you can remove any loose debris or dust from just about any surface while also giving it a nice shine. Use a microfiber cloth to wipe down the outside area of your AirPods. If necessary, dip the cloth in a small amount of clean water–but make sure not to get moisture in the speakers.
2. Grab a Cotton Swab
If you’ve got some hard-to-remove debris on the outside of your AirPods, grab a cotton swab. Remove some of the excess cotton if you want to make the swab pointed. Apply light pressure when rubbing away stuck-on dirt or dust.
3. Floss It Out
Your dentist wants you to floss twice a day. Your AirPods want a good flossing, too!
Grab a flosser pick with small bristles on the end. You can use this to get into all those nooks and crannies and loosen any grime that doesn’t want to come off on its own.
4. Repurpose Your Putty
Have you ever used Blu Tack to hang posters on the wall? You can also use it to remove gunk in a safe, liquid-free way.
Break off a small piece of the putty and roll it in your hands to make it softer and more malleable. Then, press the Blu Tack (or other adhesive putty) against each side of your AirPods. As you pull the putty away from the surface, it will remove a ton of dirt and grime.
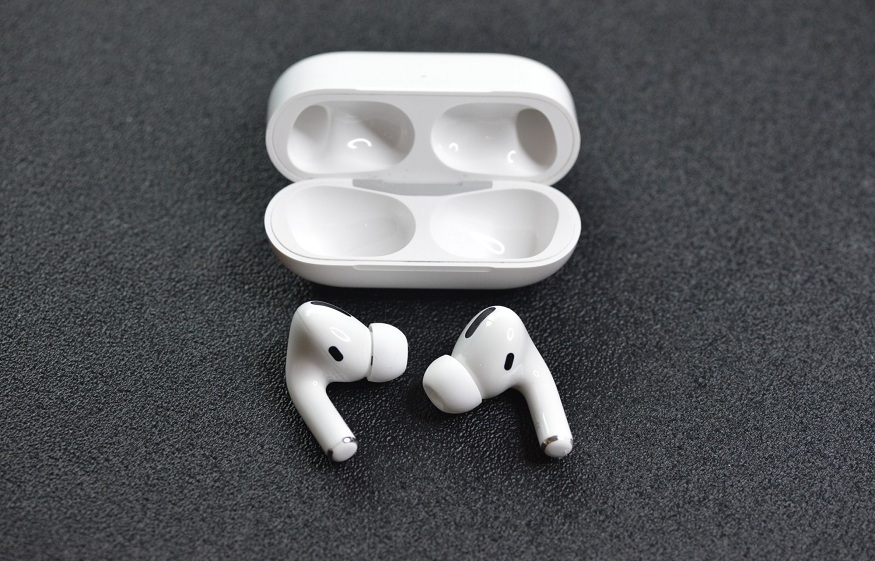
5. Remove the Ear Tips for a Deep Clean
AirPods have silicone ear tips over the speaker grilles that help secure the AirPods in your ears and protect you from high volumes. Pinch the silicone ear tip and give it a firm pull to remove it. Then, rinse them in clean water–but don’t use soap, as Apple advises against it.
Set the ear tips aside to dry while you tackle the speaker grilles.
6. Don’t Forget the Speaker Grilles
We may hope those silicone ear tips keep gunk away from the speaker grilles, but you’ll quickly discover that this is not the case. In fact, tons of stuff gets trapped in all of the microscopic holes that make up each speaker grille.
You can use a flosser pick to get into each little hole, although it’s not our preferred method. Sometimes, doing so actually pushes all of the crud deeper into the speaker grille. Plus, AirPods are on the delicate side and excess pressure can cause damage to the speakers that is hard to reverse.
Instead, grab another piece of Blu Tack and press it firmly against the speaker grille. Lift it away slowly enough that all of that gunk sticks to the putty rather than getting caught in the speaker grille again.
Once you’ve completed this step and your ear tips are dry, you can replace the ear tips. To do so, line up the oval shape of the ear tip and the speaker grille. Then, push the ear tip into the hole into you hear a distinct click.
7. Give the Charging Case a Wipe Down
Your charging case may need a good cleaning, especially if you keep it in a purse or backpack with other stuff. Use your microfiber cloth to wipe down the outside of the case. If necessary, you can dip it in a small amount of isopropyl alcohol, but remember not to get any liquid on the inside with the charging devices.
If you need to clean out the inside, we recommend using Blu Tack once again. The charging case, alone, costs a good chunk of change to replace, so make sure you don’t unintentionally damage it during this process.
8. Keep Your AirPods Squeaky Clean
Whether you’re a new AirPod owner or you’ve had a pair for a few years now, it’s important to know how to maintain them. Cleaning AirPods is an often-overlooked but important step that all AirPod owners should take to give their AirPods a longer life.
Looking for more updates, news, and tips on all things tech-related? If so, you’ve come to the right place.
Take a look at more of our content and find out what’s up in the world of technology. Bookmark our page and check back often for regular updates.